Scan the barcode or type the number, give it a name and a colour, and it is in your wallet.Barcode scannen oder Nummer eintippen, Name und Farbe vergeben — und die Karte ist im Wallet.
Quick start
Tap Add card and point the camera at the barcode. Cardly reads the number and its format; if the barcode will not scan, Enter manually lets you type it. Cards with no barcode at all are fine too.
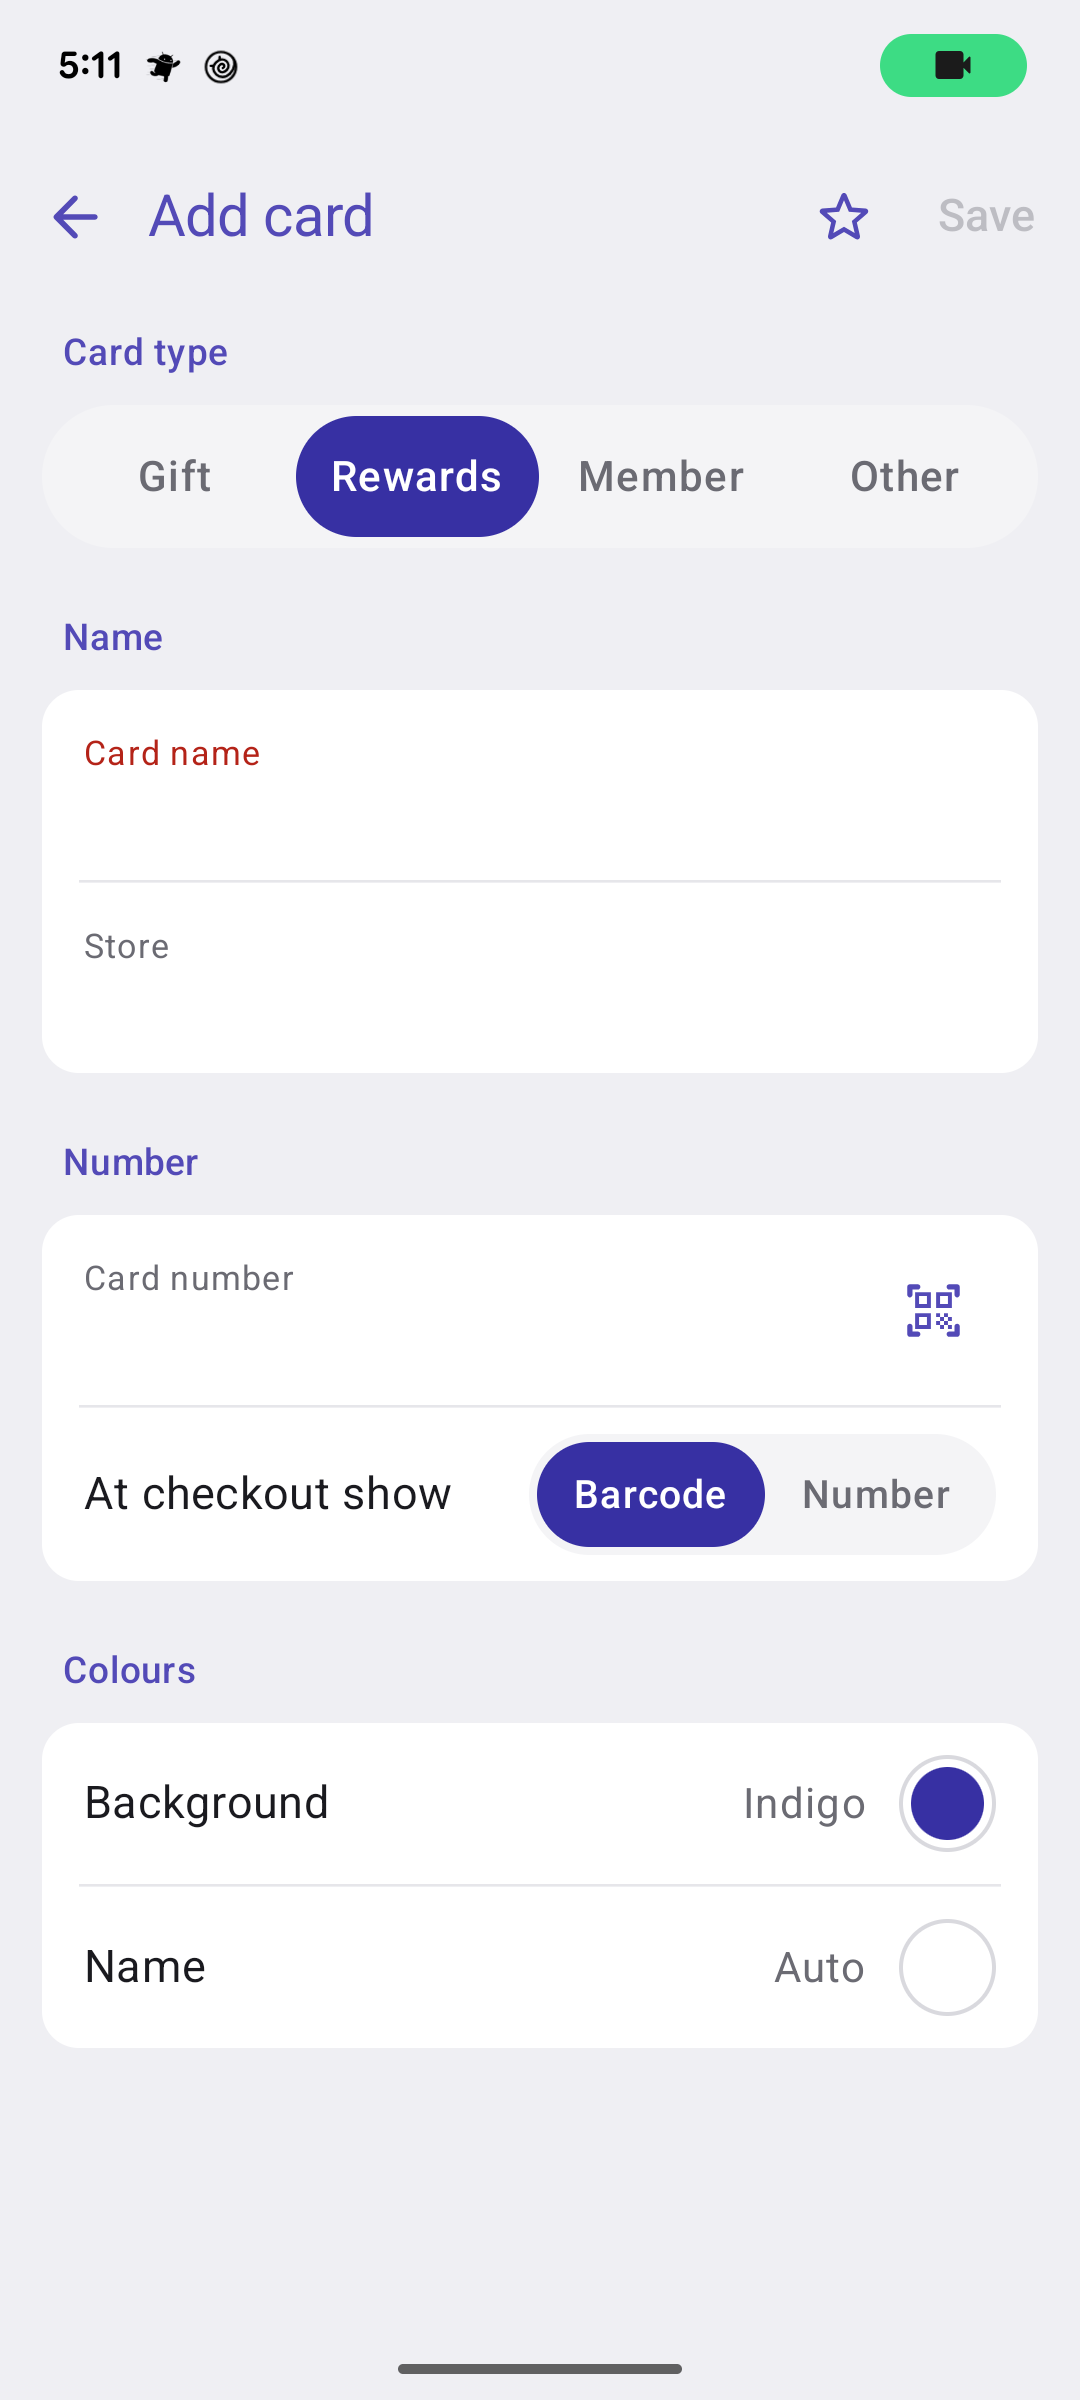
Then the form: the card type first, because it decides what else is asked — a gift card gets a PIN, a balance and an expiry. Name, store, and a background colour from your palette. Save opens the new card.
Type first, then name, store, number and colour.
Below: pictures of the card, and what happens with a card you already have.
Going deeper
Front and back
After scanning, Cardly offers to take a photo of the front — it reads the name off it and matches the colour — and then the back. Both are optional and both can be added later from the card's Pictures screen.
Name colour
The card's name is drawn in black or white, whichever reads better on the background. Name colour lets you choose a colour instead. The colours are named, never numbers, and the palette is yours to edit under Settings → Customise → Colours.
The same card twice
If a barcode you scan is already in your wallet, Cardly says so and asks whether to add it again anyway.
Schnellstart
Tippe auf Karte hinzufügen und richte die Kamera auf den Barcode. Cardly liest die Nummer und ihr Format; lässt sich der Barcode nicht scannen, kannst du ihn über Manuell eingeben eintippen. Karten ganz ohne Barcode gehen auch.
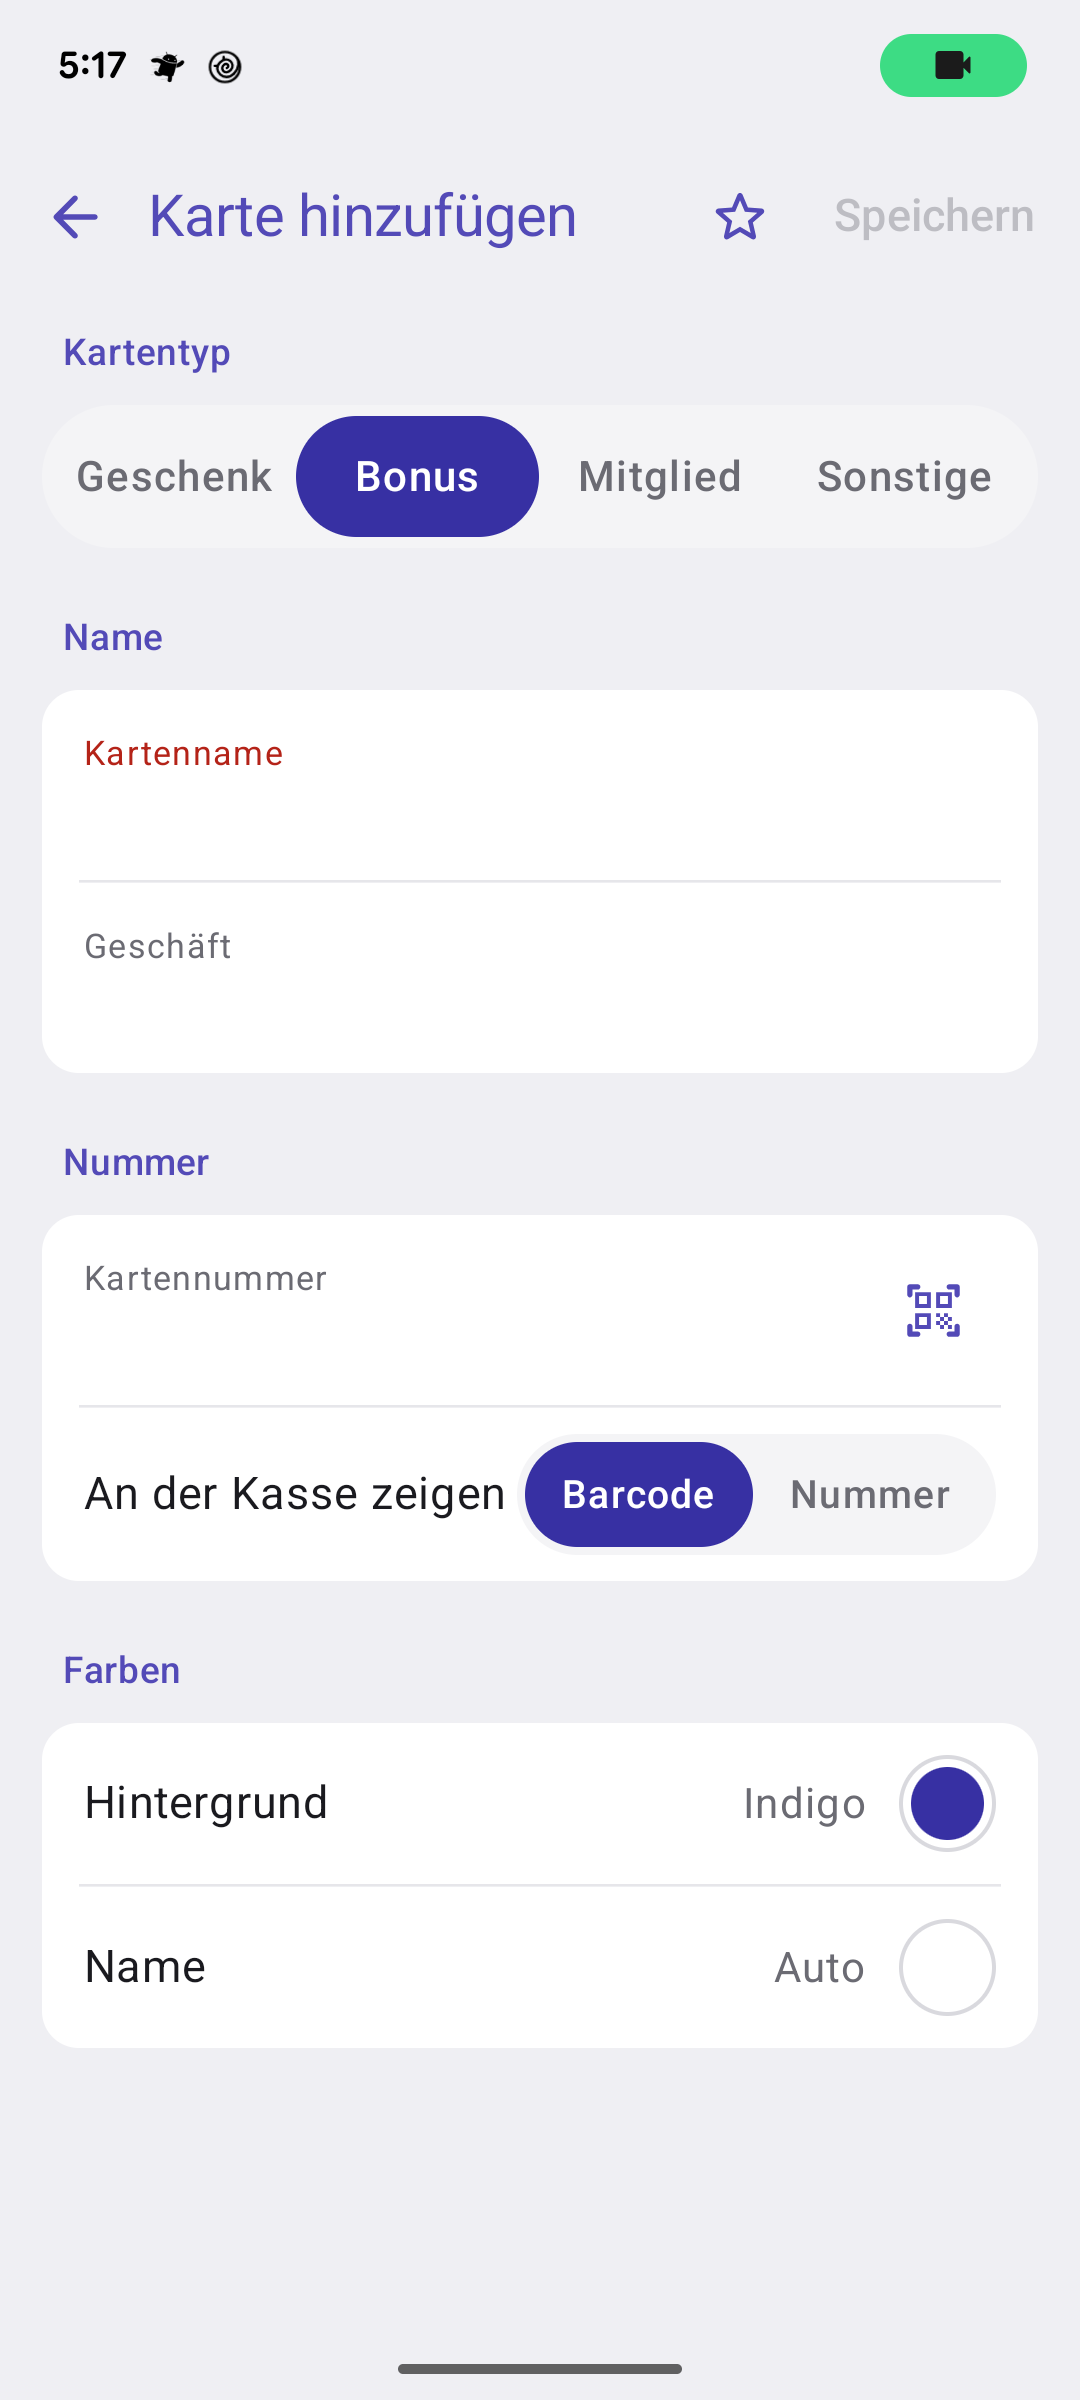
Dann das Formular: zuerst der Kartentyp, denn er bestimmt, was sonst noch gefragt wird — eine Geschenkkarte bekommt PIN, Guthaben und Ablaufdatum. Name, Geschäft und eine Hintergrundfarbe aus deiner Palette. Speichern öffnet die neue Karte.
Erst der Typ, dann Name, Geschäft, Nummer und Farbe.
Weiter unten: Bilder der Karte, und was bei einer Karte passiert, die du schon hast.
Mehr dazu
Vorder- und Rückseite
Nach dem Scannen bietet Cardly an, ein Foto der Vorderseite zu machen — es liest den Namen davon ab und übernimmt die Farbe — und dann die Rückseite. Beides ist freiwillig und lässt sich später über den Bildschirm Bilder der Karte nachholen.
Namensfarbe
Der Kartenname wird in Schwarz oder Weiß gezeichnet, je nachdem, was auf dem Hintergrund besser lesbar ist. Mit Namensfarbe wählst du stattdessen eine Farbe. Die Farben haben Namen, keine Zahlen, und die Palette bearbeitest du unter Einstellungen → Anpassen → Farben.
Dieselbe Karte zweimal
Ist ein gescannter Barcode schon im Wallet, sagt Cardly das und fragt, ob die Karte trotzdem noch einmal hinzugefügt werden soll.